

Moms Must Read: How to Make Hair Bows for Your Lovely Babies
QKiddo.com is co-founded and owned by three proud moms, all of them having pretty girls. The company collaborates with lots of home stay moms to design, handmake, photograph products. We do have gotten lots of compliments from our customers for our beautifully made hair accessories, and some customers keep making the request if we could release the tricks to make such great hair clips, headbands, hair ties. Today, we are more than glad to share the basics to make hair bows with you for your lovely babies and toddlers.
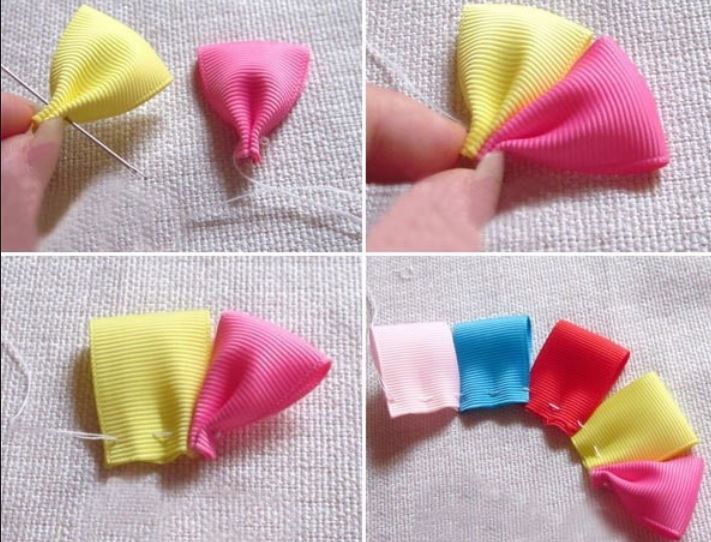
Here, we will use an easy example to show you the simple process to make a stylish hair bow. We strongly believe that you will definitely want to make bows for your daughter, yourself, or your friends after reading this article, because it is so easy and full of fun! Moreover, it’s a great party activity idea if you can get a group of moms and girls to do it together on a weekend!
Example: Loopy Hair Bow Band

Materials needed: Ribbon (from a craft store), hot glue, alligator clip (from any beauty supply store), a soft band, and any fun add-ons such as buttons.
Step 1: Make a little loop in your ribbon, and secure with a small dot of hot glue.

Step 2: Do the same thing on the other side.

Step 3: Cut the extra, and you get a free-standing loop.

Step 4: Repeat the above steps, and make a few loops. In this example, there are four loops, which naturally vary in size. Arrange them by size, starting with the biggest one first.

Step 5: Stack the loops, with the largest one on the bottom. Secure the loops to one another with glue. Continue until you get what you desire.


Step 6: Wrap the alligator clip with the ribbon. This is optional, but highly recommended if your daughter is younger toddler or little baby, since the covered ribbon on alligator clip can prevent it from snagging hair, or hurt your baby’s head. Of course, the ribbon makes your angel look cuter! In this wrapping process, we usually do not add ribbon to the other side which will be attached to the bow.


Step 7: secure the ribbon wrapped alligator clip to the four-layer loopy bow with a drop of glue.


Step 8: Add some tulle and a button to finish the loopy hair bow. To get a loopy hair bow band, there is just one more thing needed to be done, which is to simply clip the bow we just made onto a hair band.

Please don’t be surprised after reading through the above steps to make a bow. Yes, it’s super easy if you don’t chase for a fancy designer bow! 5-10 minutes are more than enough for a homemade bow like the one in the example. The possibilities are endless when it comes to making bows, so why not host a bow making party this weekend?
Below is a video, which can more vividly show you how to make a hair bow. The process is indeed full of fun!
Please leave comments if you have any suggestions for our readers.
Thank you for reading! Thanks for the example from a blog mom.
Arianna Huffington
Do you guys take bulk orders of hair accessories?
Shelly Pickerill
very useful tutorial!!! look forward to more articles to teach making a bow.
Mary's mom
So I guess It deserves a try for a bow making party. LOL.